Excel Budget Dashboard Template
Here’s an overview of creating an Excel budget dashboard template, formatted as requested: “`html
Excel Budget Dashboard Template: A Comprehensive Guide
A budget dashboard provides a visual and interactive summary of your financial performance, allowing for quick analysis and informed decision-making. This guide outlines the key elements and steps to create an effective Excel budget dashboard template.
I. Planning and Data Preparation
1. Define Your Objectives:
Before diving into Excel, determine what you want to achieve with your dashboard. What key performance indicators (KPIs) are most important to track? Common objectives include:
- Tracking income and expenses
- Comparing actual spending against budgeted amounts
- Identifying areas where you are over or under budget
- Forecasting future financial performance
- Monitoring key financial ratios (e.g., savings rate, debt-to-income ratio)
2. Identify Data Sources:
Determine where your financial data is coming from. This could include:
- Bank statements
- Credit card statements
- Accounting software (e.g., QuickBooks, Xero)
- Spreadsheets where you manually track income and expenses
3. Design Your Data Structure:
A well-structured data table is crucial for creating a functional dashboard. Consider the following columns:
- Date: The date of the transaction.
- Category: The type of income or expense (e.g., Salary, Rent, Groceries).
- Subcategory: A more specific breakdown of the category (e.g., within “Groceries,” you might have “Produce,” “Dairy,” “Meat”).
- Description: A brief explanation of the transaction.
- Amount: The monetary value of the transaction (positive for income, negative for expenses).
- Budgeted Amount: The planned amount for that category in a given period. This is essential for variance analysis.
- Month: The month of the transaction (can be derived from the Date column using the MONTH() function).
- Year: The year of the transaction (can be derived from the Date column using the YEAR() function).
Ensure data consistency. Use data validation to enforce consistent category and subcategory entries.
4. Create a Budget Sheet:
Create a separate sheet to define your budget. This sheet should include:
- Category: List all the income and expense categories.
- Month: Specify the month the budget applies to.
- Budgeted Amount: Enter the budgeted amount for each category and month.
This allows for easy adjustment of your budget without altering the raw transaction data.
II. Building the Dashboard
1. Create Pivot Tables:
Pivot tables are the workhorses of your dashboard. Use them to summarize and aggregate your data in meaningful ways.
- Actual vs. Budget: Create a pivot table comparing actual expenses to budgeted expenses by category and month. Use the Category and Month fields as row/column labels, and the Amount (summed) and Budgeted Amount (summed) fields as values.
- Income and Expense Trends: Create a pivot table showing income and expense trends over time (e.g., monthly or quarterly). Use the Month or Quarter field as row labels and the Amount field (summed) as values. Separate income and expenses based on category (income categories will have positive values, expense categories negative).
- Category Breakdown: Create a pivot table showing the breakdown of expenses by category. Use the Category field as row labels and the Amount field (summed) as values.
2. Create Charts:
Visualizations make your data easier to understand. Choose charts that effectively communicate the information from your pivot tables.
- Column Chart: Compare actual expenses to budgeted expenses by category. This is great for identifying variances.
- Line Chart: Display income and expense trends over time. This allows you to see how your financial performance is changing.
- Pie Chart: Show the breakdown of expenses by category. This provides a quick overview of where your money is going.
- Stacked Column Chart: Show the breakdown of expenses by category over time. This combines the insights of the pie chart and line chart.
Customize your charts with clear titles, labels, and legends.
3. Design the Dashboard Layout:
Create a new sheet to serve as your dashboard. Arrange your charts and key data points in a logical and visually appealing manner.
- Key Metrics: Display key metrics such as total income, total expenses, net income, and savings rate prominently. These can be calculated using formulas referencing the pivot tables.
- Filters: Use slicers and timelines to allow users to filter the data by date range, category, or other criteria. Connect these slicers to all relevant pivot tables.
- Clean Design: Use a consistent color scheme and avoid clutter. Consider using gridlines sparingly or removing them altogether.
4. Add Interactive Elements:
Make your dashboard interactive with features that allow users to explore the data in more detail.
- Slicers: Slicers are visual filters that allow users to quickly filter pivot table data. Connect your slicers to all pivot tables powering the dashboard.
- Timelines: A timeline is a special type of slicer designed for filtering dates. Use it to easily select different time periods.
- Data Validation Lists: Use data validation in cells to allow users to select different categories or metrics to display.
III. Formulas and Functions
Here are some useful Excel formulas and functions for creating your budget dashboard:
- SUMIFS: Sums values based on multiple criteria. Useful for calculating total income or expenses for a specific category and month.
=SUMIFS(AmountColumn, CategoryColumn, "Salary", MonthColumn, 1)(sums all amounts where the category is “Salary” and the month is January). - AVERAGEIFS: Calculates the average of values based on multiple criteria.
=AVERAGEIFS(AmountColumn, CategoryColumn, "Groceries", YearColumn, 2023)(calculates the average grocery expense in 2023). - VLOOKUP: Looks up a value in a table and returns a corresponding value. Useful for retrieving budgeted amounts based on category and month. Assume your budget sheet has Category in column A, Month in column B, and Budgeted Amount in column C.
=VLOOKUP(CategoryCell&MonthCell, BudgetSheet!A:C, 3, FALSE) - IF: Performs a logical test and returns one value if the test is true and another value if the test is false. Useful for calculating variance (Actual – Budget).
=IF(ActualAmountCell>BudgetedAmountCell, "Over Budget", "Under Budget") - MONTH(): Extracts the month number from a date.
=MONTH(DateCell) - YEAR(): Extracts the year from a date.
=YEAR(DateCell) - TODAY(): Returns the current date. Useful for dynamic date ranges.
- EOMONTH(): Returns the last day of the month. Useful for dynamic date ranges.
- Conditional Formatting: Highlights cells based on certain criteria. Use it to highlight cells where actual expenses exceed budgeted expenses.
IV. Testing and Refinement
Once your dashboard is built, thoroughly test it to ensure accuracy and functionality.
- Data Validation: Verify that all data is being calculated correctly.
- User Experience: Ensure the dashboard is easy to navigate and understand.
- Performance: Optimize the dashboard for speed and efficiency. Large datasets and complex formulas can slow down performance. Consider using Power Query to streamline data import and transformation.
V. Advanced Features
Once you have a basic dashboard, consider adding these advanced features:
- Power Query: Use Power Query to import and transform data from multiple sources.
- Power Pivot: Use Power Pivot to handle large datasets and create more complex calculations.
- Scenario Analysis: Create different scenarios to see how changes in income or expenses would affect your budget.
- Goal Seek: Use Goal Seek to determine what changes are needed to achieve a specific financial goal.
- Macro Automation: Automate repetitive tasks with macros.
By following these steps, you can create a powerful and effective Excel budget dashboard template that helps you manage your finances effectively.
“`
 1018×970 budget dashboard excel template db excelcom from db-excel.com
 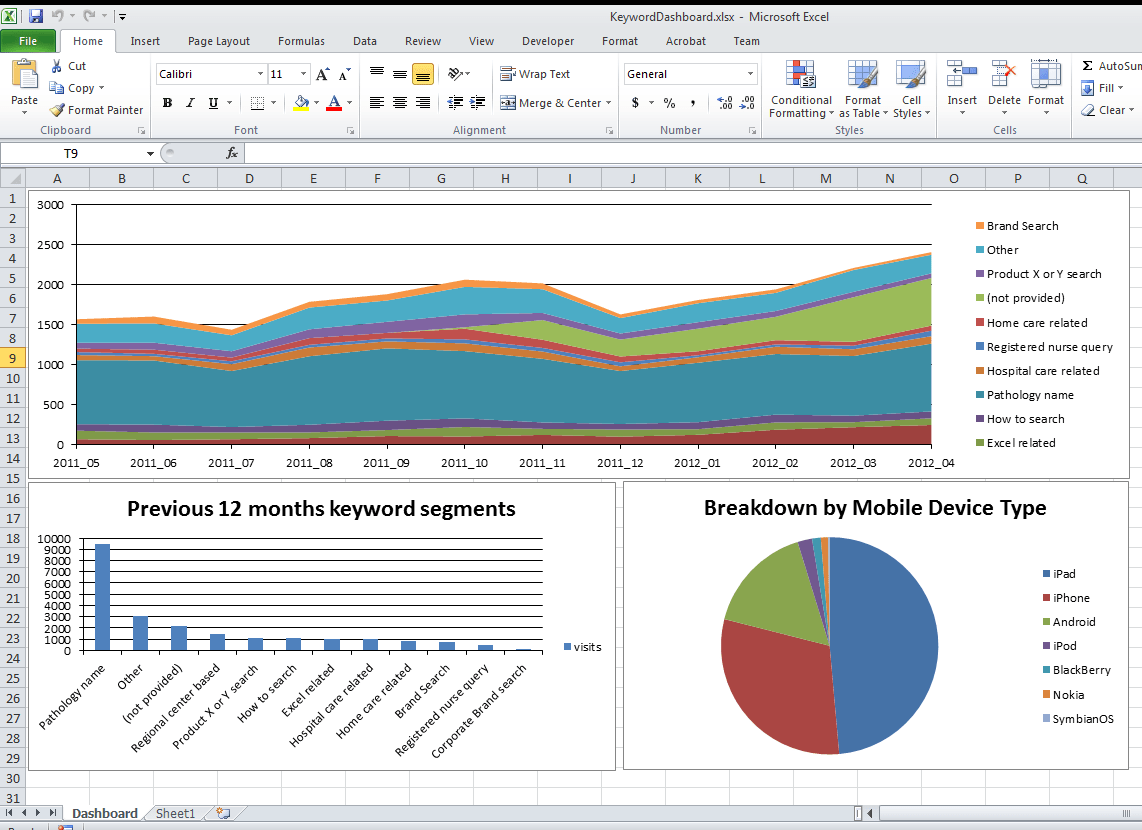 1142×830 budget dashboard excel excel spreadsheet dashboard templates excel from db-excel.com


Excel Budget Dashboard Template :
Excel Budget Dashboard Template was posted in January 21, 2026 at 8:23 am. If you wanna have it as yours, please click the Pictures and you will go to click right mouse then Save Image As and Click Save and download the Excel Budget Dashboard Template Picture.. Don’t forget to share this picture with others via Facebook, Twitter, Pinterest or other social medias! we do hope you'll get inspired by SampleTemplates123... Thanks again! If you have any DMCA issues on this post, please contact us!
Related For Excel Budget Dashboard Template
Landlord Property Budget Template
Okay, here’s an HTML formatted explanation of a landlord
Free Sample Business Start-Up Costs
Free Sample Business Start-Up Costs Template Sample Letter of
Financial Excel Budget Template Fre
Financial Excel Budget Template Free Download Grade Appeal Letter